More on the Triumph

Since my last update, I got the Triumph registered and on the road. After the first test drive I knew I had some more work to do. While the car would idle like a champ, when the engine was subjected to even a mild load, it would ping (detonation or pre-ignition) like crazy. I tried enriching the fuel mixture and retarding the timing, but I wasn’t getting anywhere. I realized my timing reading of 20°-28° BTDC was probably correct. I retarded the timing as far as I could, but the engine would stall out, even with the timing set nearer to 20°. I decided to try replacing my Pertronix electronic ignition with the old points and condenser. To my surprise, this actually made a small but noticeable difference. The engine started much easier and the pinging was slightly better. Not good enough to be usable, but better. I replaced the old points and condenser with new parts for good measure, but that didn’t magically solve my problem.

It was looking like I’d have to dive into the valve timing. Several years ago, I replaced the original camshaft with an aftermarket performance cam that came with the car. I didn’t fully understand the procedure for synchronizing the cam and crankshaft in the workshop manual, so I made my own timing marks on the sprockets and lined it up as best I could. This turned out to be a mistake. With a newfound comprehension of the “on the rock” method of setting up cam/crank timing, I discovered I set up the camshaft about 20° ahead of where it should have been. I’d been dreading this, even though from the start I knew it was almost inevitable. Adjusting cam timing on this car is a big job, and I was really hoping to avoid it.

I decided to get started in the evening, and I was able to get everything apart, set the correct timing and then start with the reassembly before dark. I finished up by about noon the next day. This test drive was much, much better. I was still getting some pinging, but it was vastly improved. The timing light showed a much more sane 8°-10° BTDC, which is an oft-recommended setting on the forums. However, I couldn’t really get the car to idle, plus there was still the pining I mentioned. The valve cover gasket was wrecked, so I decided to put the car away and do some research.

After a little reading, today I decided to remove the bypass valves and temperature compensators from the carbs and cap their holes to see if they were at fault. I think it may have made a small improvement, but the car still wouldn’t idle nicely. I was able to get the idle down for long enough to hear a loud sucking noise though. I discovered the manifold (the intake and exhaust manifolds share a gasket on this car) gasket was leaking. I never noticed the sucking noise before, and previous attempts at spraying the area with carb cleaner and starting fluid revealed nothing either. Luckily, I have an extra gasket that’s been hanging around for a while. I’m going to try to get it installed tomorrow, and I think I’ll double up my gaskets. Some people on the forums recommend that. I figure it can’t hurt. I’m hoping fixing this gasket issue should finally get the car into a driveable state.

Finally an Update on the Triumph

I promised to post an update on my Triumph (named Nigel) just about a month ago. I’ve made some great progress, and this time I remembered to take some pictures.

In the last update, I managed to get the car running, but only with the choke on. This seemed to point towards a vacuum leak, but I couldn’t find a strong one. Using the ol’ spray some carb cleaner all over the place method, I learned the spacers between the carburetors and intake manifold weren’t making an airtight seal. I ordered new spacers and gaskets, and that actually made a big difference. Along the way I also removed the EGR system, disconnected the vacuum retard on the distributor and the bypass valves on the carburetors. I may reinstate the bypass valves after some driving.

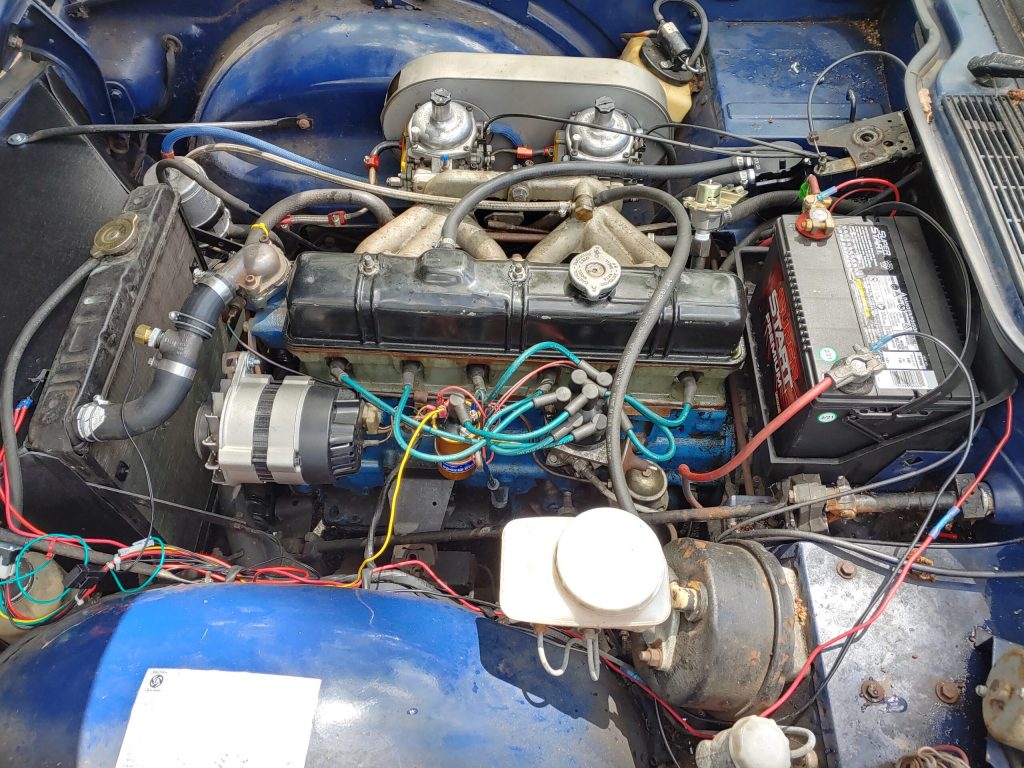
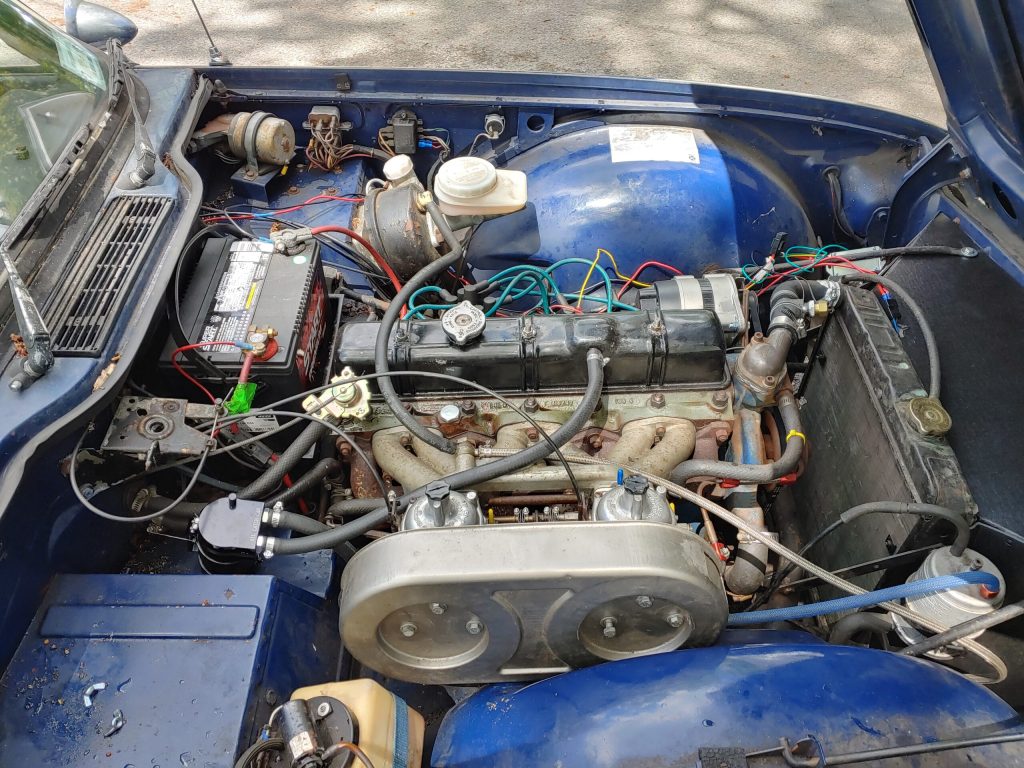
If you know what to look for, you’ll notice the absence of an EGR system and the addition of an oil catch can. The heater valve is new, replacing an old leaky one. The stock air filters are on, but I’d like to replace them with something aftermarket. I know this car came with some oval shaped foam ones, but I have to find them, if I didn’t throw them away.

At the same time, I discovered the vent port on the rocker cover was spewing smoke into the carburetors, upsetting the airflow and causing difficulty with keeping the engine running. I rerouted the engine fumes into an oil catch can, but I may try to put this system back to stock in the future. The catch can doesn’t catch everything, and smoke still comes out of it. I think this is probably a sign that the piston rings could use replacement, but we’ll see how it goes. I’d like to kick that can as far down the road as I can. I’ve read that filling the engine oil to the top mark on the dipstick may in fact overfill the engine, so I’m going to try putting somewhat less oil in when I change it.

I also advanced the ignition timing quite a bit, enough to be off the scale on the crank pulley, and that made the biggest difference in the engine’s ability to run normally. Whether the timing is actually about 26° BTDC, I don’t know. The crank pulley may not be correct anymore. I’m hoping the timing works on the road, because the engine has never run this well or been this easy to start before. Reports on the TR6 forums suggest that this timing will probably be fine, but it varies car to car.

Moving to the other side of the engine, you can see the new wiring for the electric fan.

The wires could use a little organization, but they get the job done. The rocker cover leaks of course, but I’m going to leave it and see how bad it is. I may add a bead of RTV silicone under the gasket if it’s too leaky.

The bundle of wires below the radiator are for the fan controller, which works wonderfully. Part (or maybe all) of the reason it wasn’t working was because I had it wired wrong. I may not have needed the new temperature sensor, but it’s a lot more elegant than shoving a probe into the radiator fins. The only problem with it is the fan uses a lot of electrical power. With the engine idling, there’s barely enough power to run the ignition system and the fan, so the engine comes close to stalling. I just had the original alternator (a 40 amp unit I think) rebuilt, so I don’t want to replace it now, but I might next season. There are plenty of higher output options for the TR6.

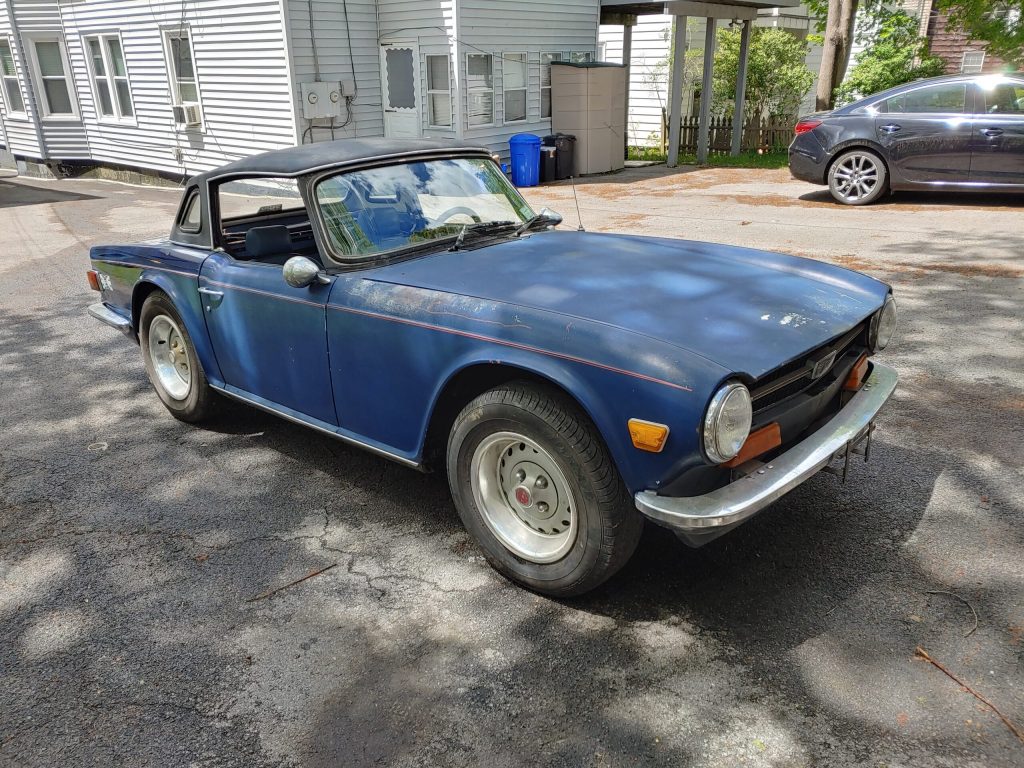
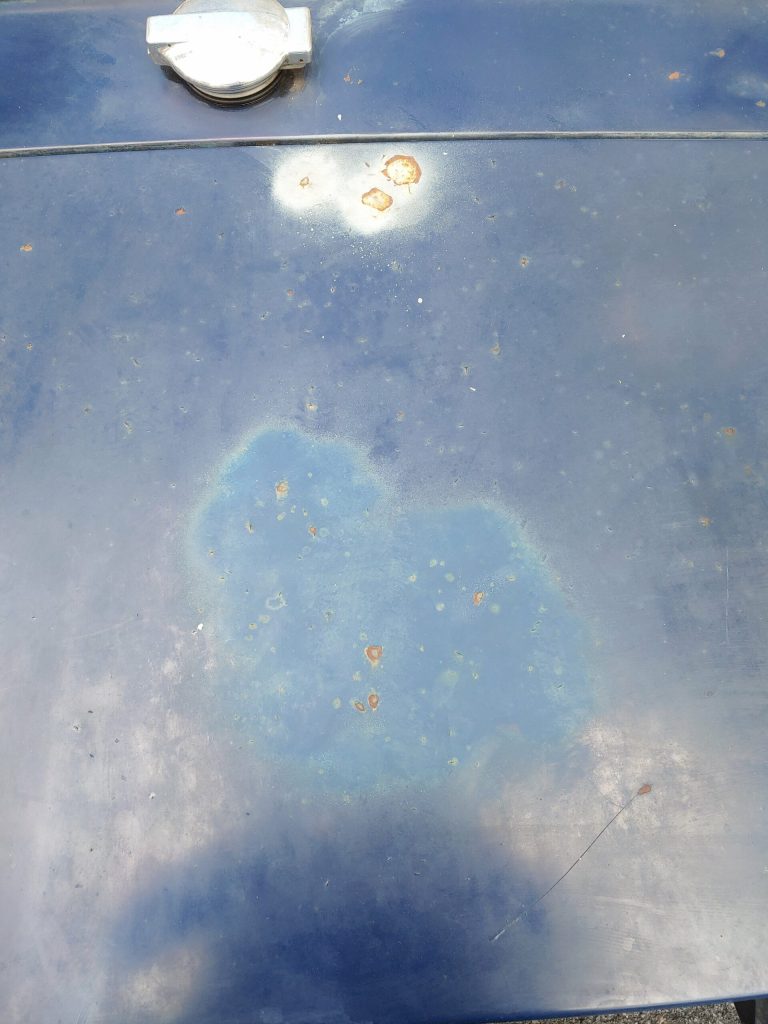
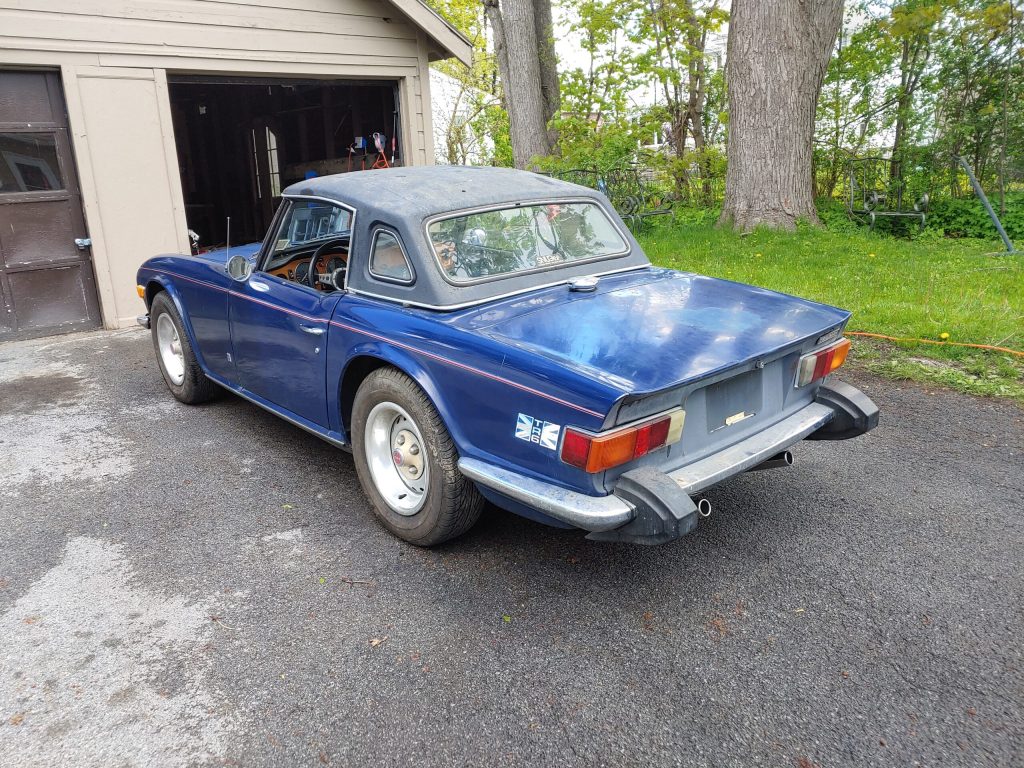
Today I decided I’d see if a polish and wax would wake up the paint at all. I had mixed results, but no parts are worse than before.

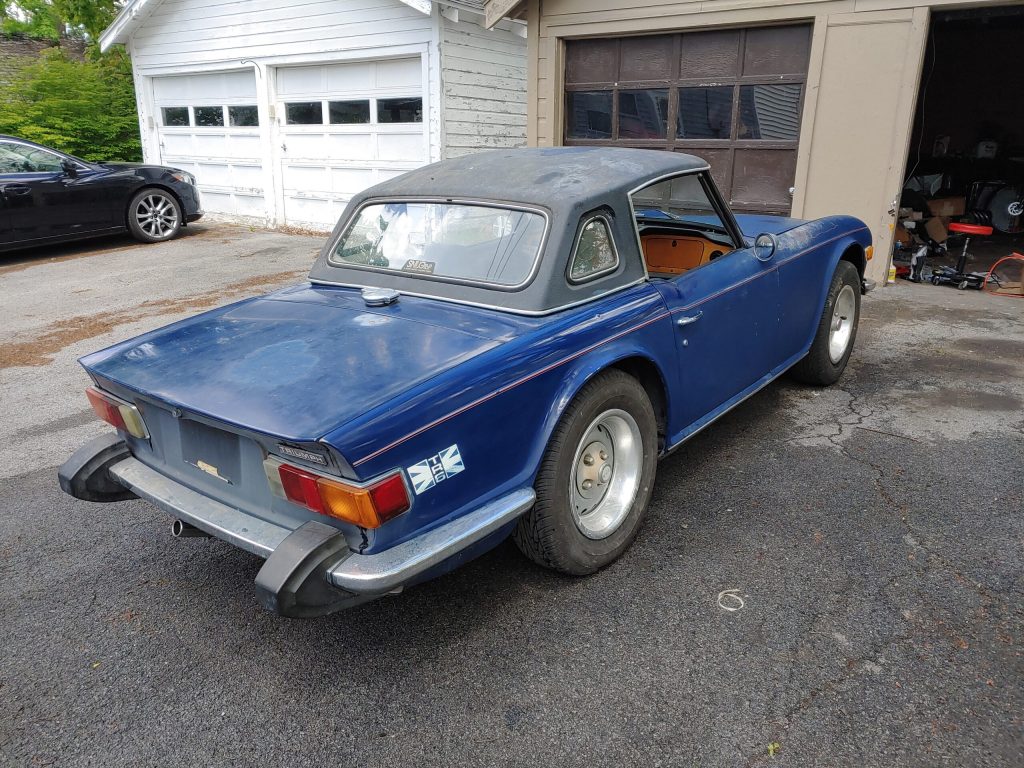
The right front portion and the hood is slightly better, but not great. The right rear is actually not terrible. The trunk has a couple spots I need to grind down and hit with primer soon.

The vertical surfaces of the left side however, came back pretty nicely.

Just like the engine could probably use a rebuild, the body needs a repaint. A good paint job will be out of my budget for the foreseeable future though. Plus I don’t know what color I’d paint it.

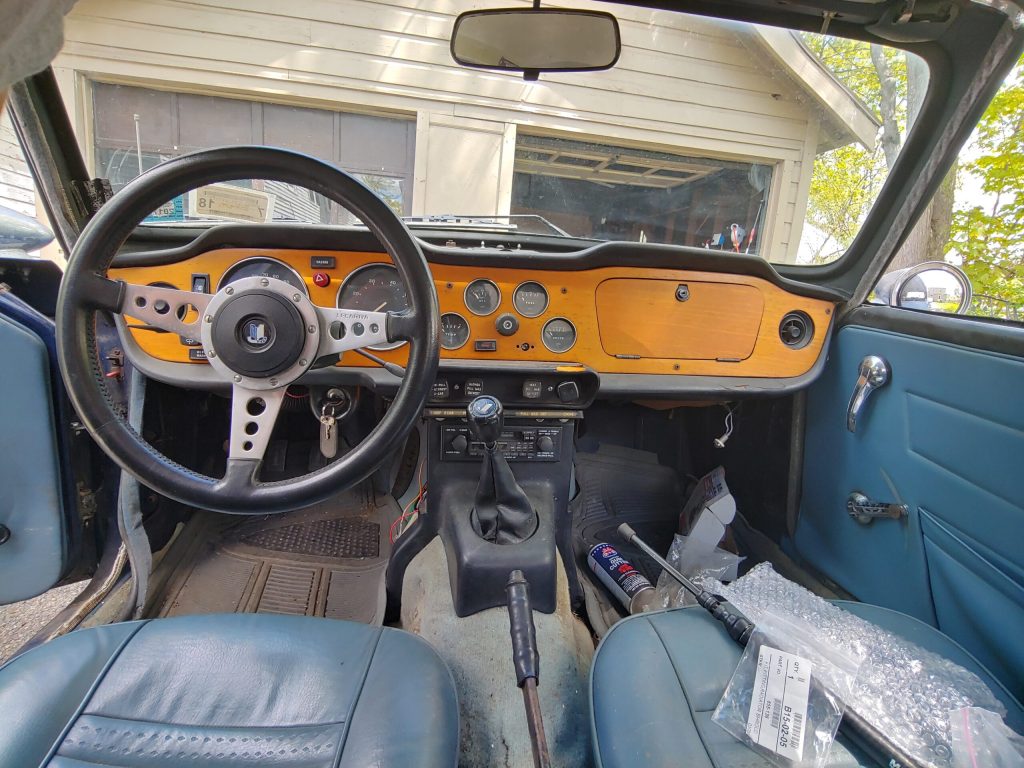
The interior isn’t in amazing shape either, but it stays put together. I need to get carpet some day and replace the trim near the center control knobs.

The car just needs a tail light socket and it’ll be ready for inspection. That and an a few other parts should be in tomorrow. I have new engine mounts already that need to be installed in the next couple weeks. My latest order includes new front shocks and wheel bearings, plus parts to help replace the half shaft universal joints. I’ve had the joints themselves for a while now. I need to replace the rear shocks and springs too (especially with the new exhaust, the mufflers hang really low), but they’ll have to wait a little while.

A Big Improvement to My Garage

Over the last couple of weeks I’ve been thinking I need an air compressor. I have a sand blast cabinet I’d like to be able to use, and it needs a pretty substantial compressor behind it. I might be able to run my grinders on 3-6 gallon compressor, but the sand blaster would destroy it. I was dismayed to find that most air compressors priced under $500 these days are oil-free. I don’t know how they stay lubricated, but whatever it is will eventually wear out. I wouldn’t using a compressor in a professional capacity, so it might not be a problem, but why take the chance? Plus, I’ve read that oil-free compressors are significantly louder than oil-lubed ones. Because I planned to keep the air compressor inside the garage, the noise level is a priority.

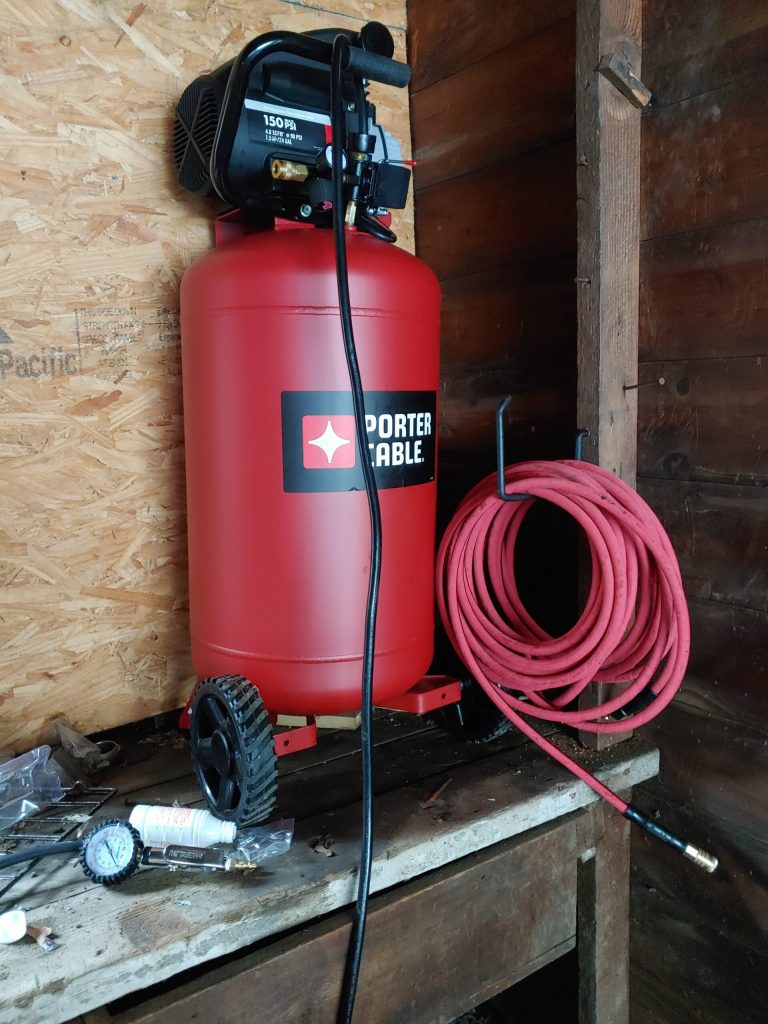
Lowes and Home Depot didn’t have a ton of choice for air compressors larger than 8 gallons. The options above that size were perfectly capable, but a bit too expensive for me. Harbor Freight had a few choices that were oil-lubed where a comparable Lowes or H-D unit weren’t, but the prices were too high for a complex piece of equipment from a store that’s known for less than stellar quality. The 90 day warranty on a $300 and up item is a complete joke. I remembered Tractor Supply, and found a perfectly fine air compressor there. It’s a Porter Cable 24 gallon unit, with an agreeable price of $220. The warranty on this is 2 years for the pump, and 1 year for everything else. Not amazing, but a hell of a lot better than 90 days.

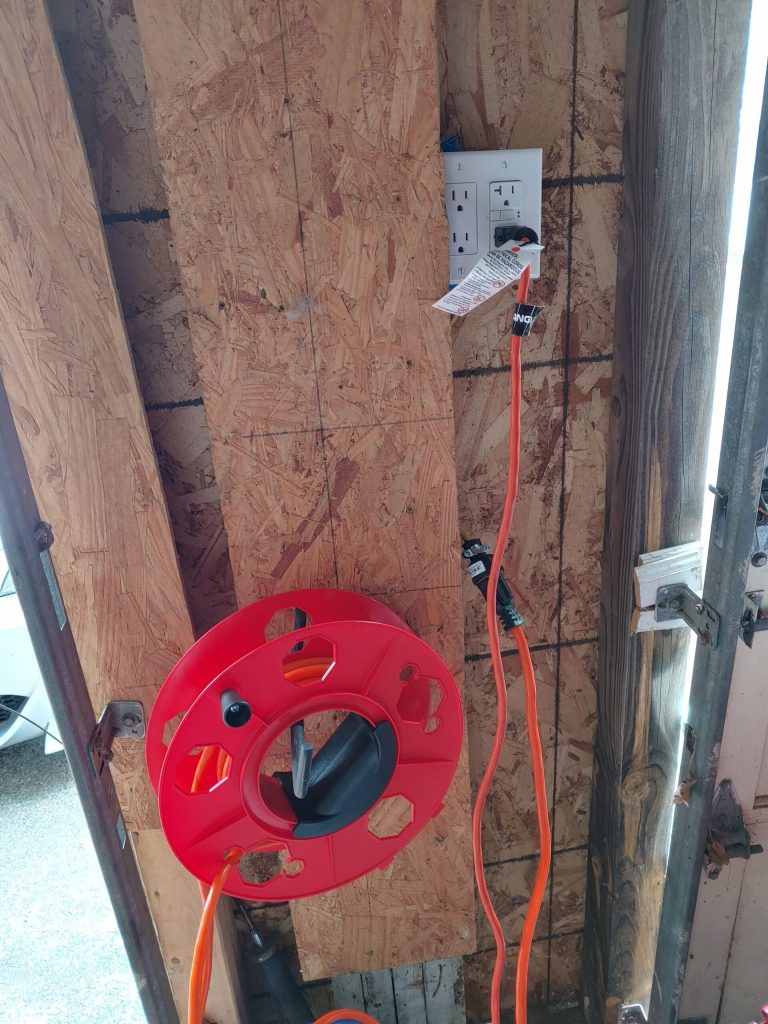
An air compressor needs electricity to run, and of course there isn’t any in my garage. There are some old electrical wires there that suggest it has had electricity in the past, but I do not know the source of it. And even if I did, I probably wouldn’t try to use it. Luckily, I was hit with a bolt of inspiration. While I could just run a long extension cord from the house to the garage every time I wanted to plug something in, why couldn’t I run that extension cord into a regular outlet instead? Turns out, it’s a thing. I got an electrical box, outlets, and a male plug to hook everything up.

I’ll be replacing that hand-held reel with a wall mounted one this week. I realized at home I bought a 20-amp GCFI and a 15-amp regular outlet. I have to check to see if the circuit breaker is a 15 or 20 amp. The outlets are connected with a 12 gauge cord and 12 gauge wire inside the box.

The picture shows things pretty succinctly. The male end of the extension cord plugs into an outlet near the back door of the house, and the female end plugs into the “tail” from the electrical box, powering up the outlet. It works great so far. The cord plugged into the outlet goes to the air compressor.

I put the air compressor on the table/bench to maximize floor space.

The air compressor is also great so far. It takes a little while to fill up an empty tank, but recycle time isn’t too bad. It’s also not quite as loud as I was expecting. The 50 foot hose I got is just adequate to reach the back of the cars in the driveway. I think what I’m going to do is get some PVC air hose and string it along the ceiling joists to get a couple air outlets by the overhead doors and one by the sand blaster.

I was struck by more inspiration later in the day when I realized I could connect more outlets to the one I installed so I wouldn’t have to have extension cords all over the place. I think I’m going to add a few in each back corner of the garage.

I was almost bowled over by inspiration when I realized I could add some LED lights to the garage just as easily as outlets. I’m really, really looking forward to that, which should be in the near future. I’ll keep you posted.